How to Paint Behind Radiators and Other Tricky Spots
Painting behind radiators and in other hard-to-reach spots can be a challenge. However, with the correct techniques and tools, you can achieve a smooth, professional finish even in the most awkward spaces. This guide will walk you through the steps to ensure your painting project is a success.
Preparing the Area
Before you start painting, prepare the area properly. Move any furniture that might get in the way. Cover the floor with dust sheets to protect it from paint splatters. Ensure the radiator is turned off and cool. Clean the radiator and the wall behind it to remove dust or grime, which could affect the paint’s adherence.
Choosing the Right Tools
Having the right tools makes all the difference. For painting behind radiators, a radiator roller is essential. These rollers with a long handle and a slim, angled head that fits in the gap between the wall and the radiator. Additionally, a paintbrush with an angled handle can help you reach those tight corners and edges. A small paint tray and extension pole will also be useful for controlling the paint application and reaching higher spots.
Steps for Painting Behind Radiators
- Remove the Radiator (Optional): If possible, remove the radiator from the wall. This provides the best access for painting. Turn off the radiator, drain it, and detach it from the wall brackets. Be sure to have a container to catch any remaining water. Once removed, you can paint the wall behind it easily.
- Using a Radiator Roller: If removing the radiator isn’t an option, use a radiator roller. Dip the roller into the paint tray, ensuring it is evenly coated but not dripping. Insert the roller behind the radiator and apply the paint in vertical strokes, working from top to bottom. This technique helps to avoid drips and ensures even coverage.
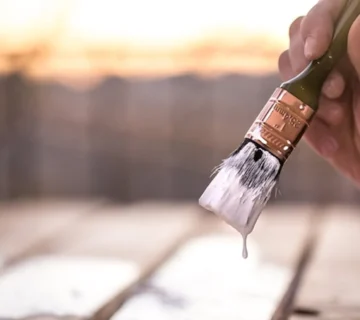
- Paintbrush Technique: For the edges and corners, use the angled paintbrush. Dip the brush into the paint, and carefully reach behind the radiator. Use short, controlled strokes to avoid splattering. This method ensures that every part of the wall is covered, even the hard-to-reach spots.
- Multiple Coats: Allow the first coat of paint to dry completely before applying a second coat. This is important to achieve a uniform finish. Follow the same steps for the second coat, ensuring that you reach all areas behind the radiator.
Painting Other Tricky Spots
Aside from radiators, you might encounter other tricky spots such as behind pipes, in corners, and along ceilings. Here’s how to tackle these areas:
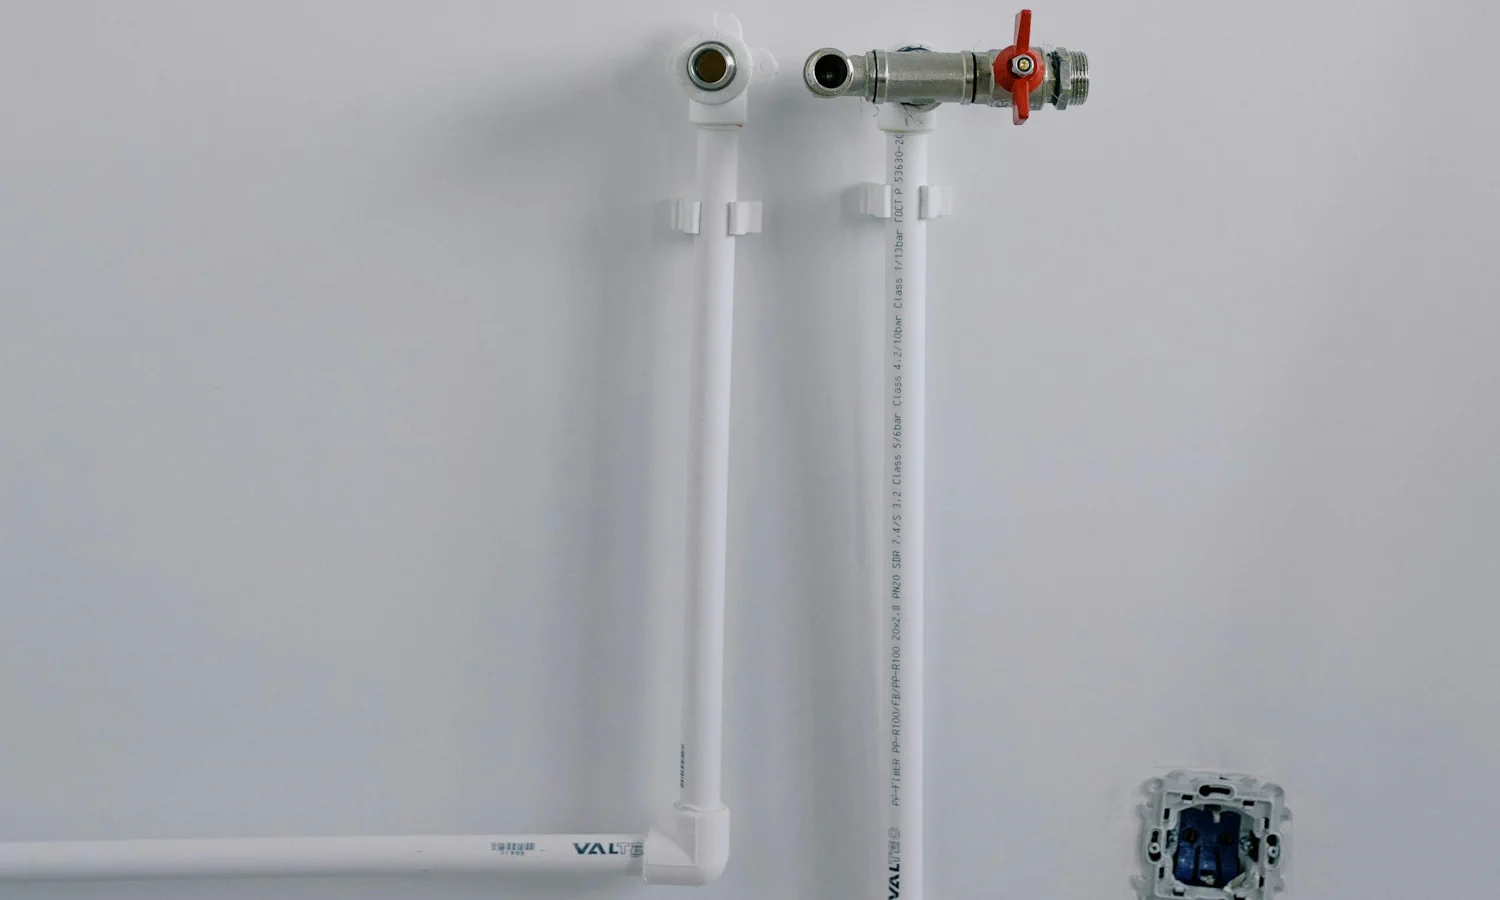
- Behind Pipes: Use a small, angled paintbrush to reach behind pipes. For narrow gaps, a thin radiator roller can be effective. Wrap a cloth around the pipe to protect it from paint splatters.
- Corners: Corners can be tricky due to their angles. Use an angled brush to get into the tight spaces. Apply the paint in short strokes, working from the inside out to avoid drips and ensure even coverage.
- Along Ceilings: When painting along the ceiling line, use painter’s tape to create a clean edge. A small, angled brush allows for precise application. Work slowly and carefully to avoid getting paint on the ceiling.
Final Touches
Once all the tricky spots are painted, inspect the area for any missed spots or uneven coverage. Touch up as necessary, and remove any protective coverings from furniture and floors. If you removed the radiator, reattach it securely and ensure it’s functioning properly.
By following these detailed steps and using the right tools, painting behind radiators and other tricky spots can be manageable and even enjoyable. With patience and attention to detail, you can achieve a professional finish in every corner of your home.