Protecting Floors and Furniture During Decorating
Paint splatters, dust, and damage can turn a decorating job into a costly mess. Protecting your floors and furniture isn’t optional—it’s essential. Skipping this step leads to stained carpets, scratched floorboards, and furniture covered in plaster dust or dried paint. Taking time to shield your home properly saves both time and money.
Clear the Room Whenever Possible
The easiest way to protect furniture is to move it out. If the room allows, remove all items—sofas, coffee tables, rugs, shelves. It clears the space and gives you room to work without constantly navigating obstacles.
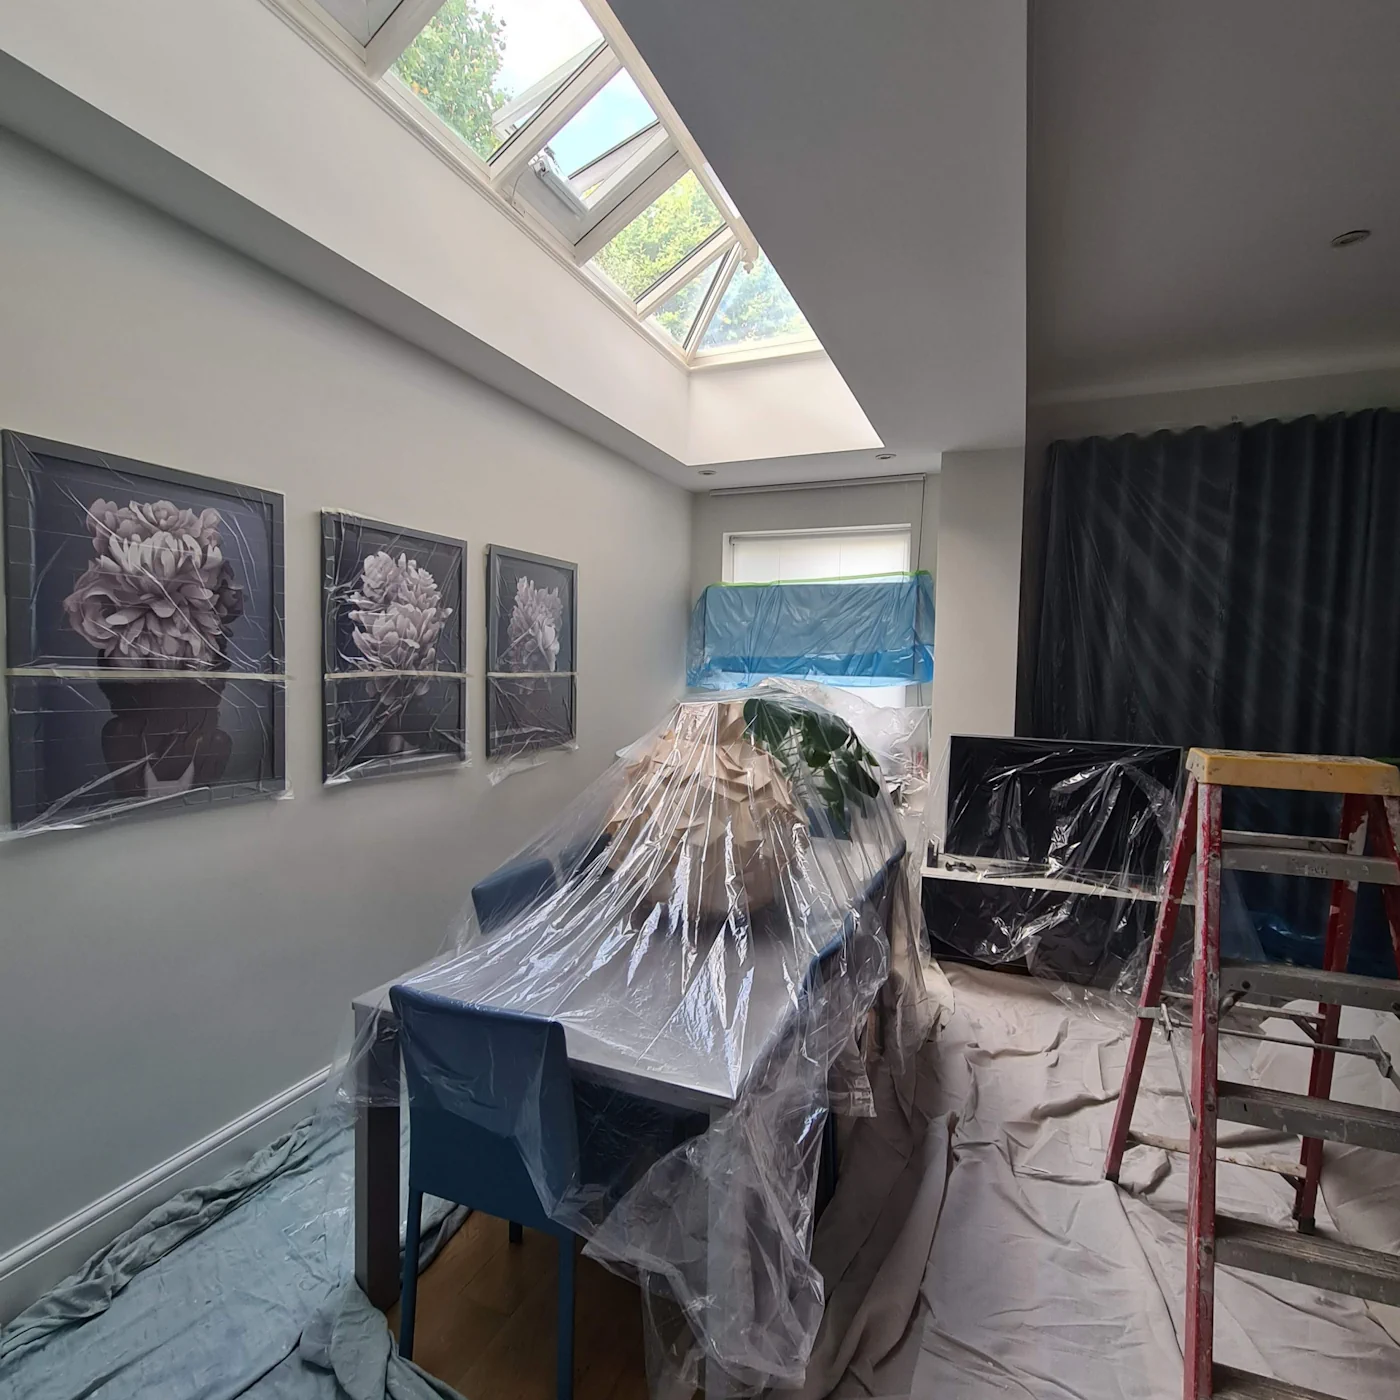
When removal isn’t possible, shift everything to the centre of the room. Stack furniture tightly, then cover it with heavy-duty dust sheets or plastic sheeting. Tape them down so nothing moves mid-job. Use low-tack masking tape to avoid damaging finishes.
Use the Right Floor Protection
Different floor types need different protection. For carpet, use carpet film—a sticky-backed plastic that clings firmly but lifts cleanly. It stays in place even under ladders or heavy foot traffic. For wood, laminate, or tiles, avoid anything with an adhesive backing. Use hard floor protector rolls or non-slip drop cloths.
Don’t just drape a sheet and hope for the best. Secure the edges with tape and overlap where needed. Double up near skirting boards, doorways, and under step ladders. One missed spot can lead to permanent staining or scratches.
Wrap Fixtures and Fittings
Radiators, light fittings, sockets, and switches all collect dust and paint flecks. Cover radiators with plastic wrap or large bin liners. Tape over sockets and switches with decorators’ masking tape. Avoid taping directly onto delicate finishes—always test in an inconspicuous area first.
Curtain rails and blinds should come down. If not, wrap them tightly with cling film or sheeting. Handles, knobs, or brackets can be removed and stored in labelled bags to avoid paint build-up or accidental drips.
Create Dust Containment Zones
If sanding is part of the job, dust becomes the enemy. Seal doorways with zip wall systems or plastic sheeting and tape. It stops fine dust from creeping into hallways or adjacent rooms. Close vents or cover them with filter cloth if working near HVAC systems.
Use a vacuum with a HEPA filter when sanding or scraping. Sweep up as you go. Don’t let dust settle—it finds its way into every crevice.
Mind Your Tools and Movement
Paint trays spill. Brushes drip. Ladders scuff floors. Use a tray liner under all painting gear. Place a second layer of protection beneath any step ladder. Keep tools on a solid, washable surface—avoid cardboard, which absorbs paint and falls apart.
Clean rollers and brushes only in designated areas. Avoid rinsing paint down bathroom or kitchen sinks unless you’re sure it won’t clog the pipes. Keep a damp cloth on hand to wipe stray drips before they dry.
Final Checks Before Painting
Walk the room. Check for exposed floor edges. Make sure you tape all covers securely. Look at the ceiling edges and fixtures. Have bin bags and cleaning cloths within arm’s reach.
Protecting floors and furniture is more than just laying a few sheets. Done properly, it means you finish the job without damage or stress. One overlooked corner can mean hours of cleaning or repairs. Cover thoroughly, tape properly, and check everything before you start.